
Recently, While she was sleeping, I made a nappy wallet for a friend. It comfortably fits two walker size nappies, a slim nappy box and a small changing mat.


To make a nappy wallet you will need:
- measuring tape
- pencil
- ruler
- paper
- fabric for outer layer
- fabric for the lining (if you would like to use different prints)
- pins
- thread
- scissors (for both fabric and paper)
- button or velcro
If you think you would like your nappy wallet bigger or smaller, here is how I worked out measurements.
I put together what I wanted to be able to place in a nappy wallet.

I needed to work out the width of the nappy wallet. I placed nappies on top of each other and using my measuring tape measured the distance from the point where I wanted the pocket to begin all the way around to where the centre of the nappy wallet would be. To get the width of the wallet, multiply this measurement by two and add seam allowance.
Alternatively, put the rest of the items on top and run your measuring tape as if forming another pocket. Or come up with something else that suits you :)

To determine the length of the wallet I simply measured the longest item in the pile and added seam allowance.

I will explain how I worked out the measurements for the strap a little later. For now let's make a nappy wallet.
I traced my pattern onto fabric and cut out two rectangles. I chose to use two different prints for the outer layer and the lining.

I placed two pieces of fabric right sides facing (simply speaking the brighter coloured sides were facing each other), then pinned them together.

Stitched around leaving a small opening on one of the shorter sides. Clipped corners.

Turned the wallet right side out, tucked the raw edges on the opening inside and carefully pressed.


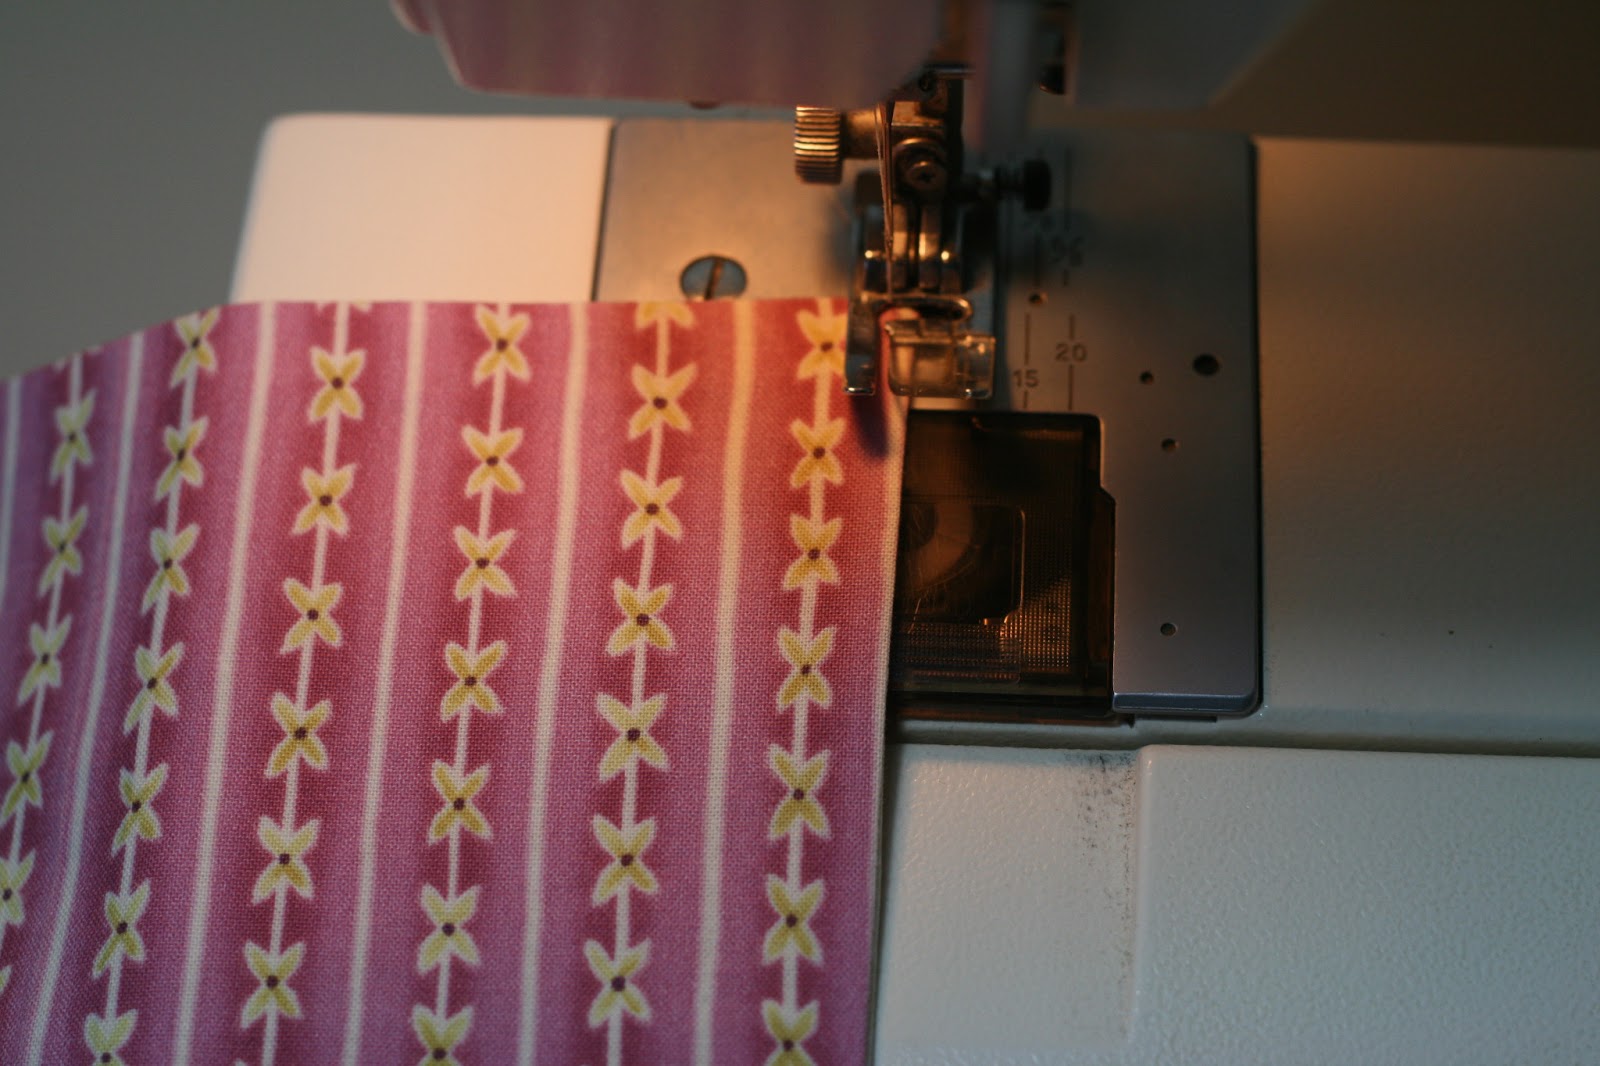
Next, I sewed along the shorter sides very close to the edge.
Now I had one massive rectangle. It was time to mark the position of the pockets. I put everything back in the wallet, folded my massive rectangle to form pockets on each side and pinned them in place. If you are using my measurements, my pockets are 12 cm (or 4.7 in) wide each.

Then I marked the position of the pockets on the inside of the nappy wallet with a pencil.

Now it was time to make a strap. Let's face it, a basic nappy wallet is not the most exciting looking thing in the world. A strap can make it look more interesting. So what is it going to look like? There are so many options! Would you like a thin strap? A thicker one? Would you like to use velcro? buttons? elastic? How about embellishments?
For my very first nappy wallet I made a thin strap with velcro.

For the second, I made a thin-ish strap with elastic inside and a button to make it look funky. Having elastic sewn inside the strap also allowed the recipient to place an extra nappy in the wallet.

And here I played with piping.

For this wallet I opted for a thicker strap and a button.
I used my measuring tape to work out how long the strap had to be by wrapping it around the nappy wallet.


I noted the length, decided on the width and cut my pattern out of paper, adding seam allowances of course.

The rest was really straight forward. I cut out two pieces of fabric, placed them right sides facing,

stitched around as shown in the photo below, trimmed the corners and the curve. I really wanted a curved strap :)

Turned the strap right side out and pressed.

Top stitched very close to the edge. I stitched all around, but there was no need to stitch the side that would be sewn onto the wallet. I got carried away.
I made a buttonhole. This was my first automatic buttonhole. Excited much!

Next, I marked where the strap needed to be sewn onto the wallet.

Stitched the strap onto the body of the wallet.

Folded the wallet again to form the pockets, lined up each side with the markings I made earlier, and pinned the pockets in place.


Marked the position of the button...

Ta-da!!

Please let me know if you end up making a nappy wallet using this tutorial. I would love to hear from you and have a look at the photos. I would appreciate a link back to this tutorial should you choose to use it.

What a great tutorial Jenya! I love all the different variations you made too :)
ReplyDeleteHeidi @ handmadefrenzy.blogspot.com
Thank you Heidi :) Making the same thing more than once is a good way to practice skills, but can also get a bit boring :) So I try to change things a little bit.
DeleteThese are great! I might have to make up one or two to throw in my purse come fall. I'm still trying to wrap my brain around going back to the full-fledged diaper bag :)
ReplyDeleteThank you Katie :) My daughter is now in undies during the day, but I still take our emergency nappy wallet everywhere we go, even though we haven't used it for a long time. I feel more relaxed knowing I have a couple of spare nappies should we need them. Besides, nappies stay nice and clean in a nappy wallet. Good luck with the new baby :)
DeleteDon't you love it when they reach this stage? Leaving the house no longer requires as much preparation and a whole lot less "stuff!"
ReplyDeleteAbsolutely Lisa! Now we have a lot more room to be able to take all the toys Little Monkey wants to take when we go out hahaha
DeleteAnd one day you'll be able to go out with just your handbag, Jenya. A well written and comprehensive tutorial.
ReplyDeleteI've featured your tutorial today...
Deletehttp://www.threadingmyway.com/2013/07/threading-your-way-features_13.html
Love this attractive tutorial! Thanks for sharing! Saw your feature at Threading My Way.
ReplyDeleteThank you Kristy :) Just had a quick look at Hopeful Threads - love it! I hope the kids will love their new toys :) See you around :)
DeleteHi just wondering if you used the one piece of fabric and turned the pieces in n just sewed or do you use different pieces
ReplyDeleteta
I just re read your post sorry makes sense now lol :)
DeleteOh cool! I find it so difficult to put my thought process on paper (so to speak). Should I re-word anything you think? I will appreciate your feedback Amy :)
DeleteNo not at all just blonde moment I think lol
DeleteOK cool :) I would hate to make people go mad trying to work out what I am saying hahaha
DeleteYep, much better than the pastic bag we carred that we named 'Emergency Poo Pack'. Well done and what a great idea.
ReplyDeleteThank you Mary :)
DeleteAs a grandma of teenagers I was thinking of another great use for these, and that is for myself. I have gotten to the age where I carry an extra pair of panties and some wipes with me for when I am going to town or on a trip for those times when I can't quite make it...... this would be so nice to carry and not have to use a plastic bag, I could make a small one for me and a larger one for my friend that has to carry pads and/or adult diapers with her. These would take so much of the embaresment out of it. If any of you young gals out there have someone older in your life make them one.
ReplyDeleteWhat a great idea Kelly!
DeleteHello. I just found this pattern just now from allfreesewing.com. I think I have some velcro, but may try my hand @ a button. I'm a beginner (not complete novice) so hopefully, I'll be able to do it :-)
ReplyDeleteThanks :-)
Valcro is definitely easier. I went for a button because I just LOVE buttons! if I could, I would put buttons on everything :) Have fun :)
DeleteI think that this is going to be a great baby shower gift!!! I can't wait to start making it! Thank you for the idea!!!! This looks like a life saver!
ReplyDeleteThank you Heather :)
DeleteI'm a beginner too and love this!!! great instructions thank you :) Ill definitely be giving it a go!
ReplyDeleteThank you :) Hope you will enjoy making it :)
DeleteI can't wait to try this little nappy wallet. You can use it for anything, not just diapers, and wipes. I am going to make one for my daughter for her make-up and maybe she will keep her cosmetics picked up and not scattered everywhere. Thank you for the great instructions.
ReplyDeleteI will remember your suggestion for when Little Monkey is older and gets make up :)
DeleteGreat tutorial!! I really like the strap with the elastic. Can you explain how you did that? Thanks!!
ReplyDeleteHi Lisa, and thank you very much! The strap with the elastic is my fave option :) OK, here we go: I measured the width of the elastic I wanted to use and made a long strap that was a tiny little bit wider than the elastic. Then I made a buttonhole. Next, l pushed the elastic inside the strap/tube until it was 2-3 cm away from the buttonhole. I stitched over the top of the elastic to secure it in place, then stretched elastic inside the tube, and sewed the other end onto the body of the nappy wallet the same way as in tutorial above :)
DeleteJust finished my first nappy wallet. Many thanks to you and your clear, step by step instructions.
ReplyDeleteI only wish I could post a photo to show you the fruits of our labour!
Much nicer than carrying everything about on a plastic bag.
It's been a long time since I've used my machine, thank you for the inspiration ��
Thank you for this tutorial. My daughter expecting her first baby and ask me to make a nappy wallet. What the heck I asked is a nappy wallet. No I know.
ReplyDeleteMany thanks will post when I have finished