Showing posts with label Take away coffee cup cosy. Show all posts

Birthday giveaway

It is my Birthday today :) Yay! I love Birthdays. I always have. Growing up we shared treats with friends on our birthdays. It was a norm. Mum and I would make sugar lollies to celebrate with my friends at the playground. We lived in a block of flats and had a huge common playground. There would be 10-15 kids playing at any given time. An instant Birthday party!

Well, to continue the tradition I have something to give away on my Birthday. It's not lollies. It's not toys. It's not clothes... It is...


A nappy wallet and a matching take-away coffee cup cosy! Do you like them? Please let me tell you more about each item.


The coffee cup cosy is made out of quilting cotton with bamboo wadding in the middle. I think the button was created for this fabric! I love the fun print, and red is my favourite colour. This cosy will allow you to enjoy your hot beverage without burning your fingers.

The nappy wallet accommodates two walker size nappies, a slim box of wipes and a small changing mat.


This nappy wallet is made out of quilting cotton. I think piping on the strap makes it look a little cheeky. And that button - yum!


This is a much more attractive alternative to carrying spare nappies in a plastic bag ;)


Do you like what you see? I hope you do. What do you need to do to win them? It's simple:
  • please 'LIKE' my Fasebook page;
  • 'SHARE' this giveaway;
  • LEAVE A COMMENT letting me know you have done this. Please leave your e-mail address so that I can contact you if you win. Just for fun feel free to share a funny, cute or horror story featuring nappies.
Here is the fine print:
  • entry is open to Australian and New Zealand residents only;
  • accessories not included;
  • competition begins on the 17th of July 2013 and ends on the 22nd of July 2013. The winner will be announced on the 23rd of July 2013 on my Facebook page and notified by e-mail.
 Good luck!

Take away coffee cup cosy - tutorial

Some things are so much fun to make! I made a takeaway cup holder/cosy/sleeve/call-it-anything-you-like thingo for my Covert Robin partner. You can read about it here. I had so much fun making it that I made one for each girl in my office. These little cup cosies make a great present.


There are a lot of tutorials for cup cosies on the Internet. I am not saying my way is the best, but it certainly worked for me.

First thing first. I needed a pattern. I went to a coffee shop near my work and asked if all takeaway cups were the same size and what size was the most popular. I don't drink coffee, so I don't know about such things. I told the ladies at the coffee shop what I was doing. They thought it was a great idea and gave me a cup.

To make a pattern, I rolled the cup on paper and outlined the top and the bottom as I went along, just like in this photo. By the way, no intentional product placement here! Once you have done this, trim as little or as much as you like - it all depends on how wide you want your cosy to be. I had to adjust my pattern a few times before I was happy with it.


Next, I cut out fabric pieces. I used quilting cotton for the outer layers and pre-washed bamboo wadding for the middle layer.


I cut a bit of elastic and tied nots on both ends since I was a bit paranoid it might slip out. C'mon, we all have some irrational fears :)


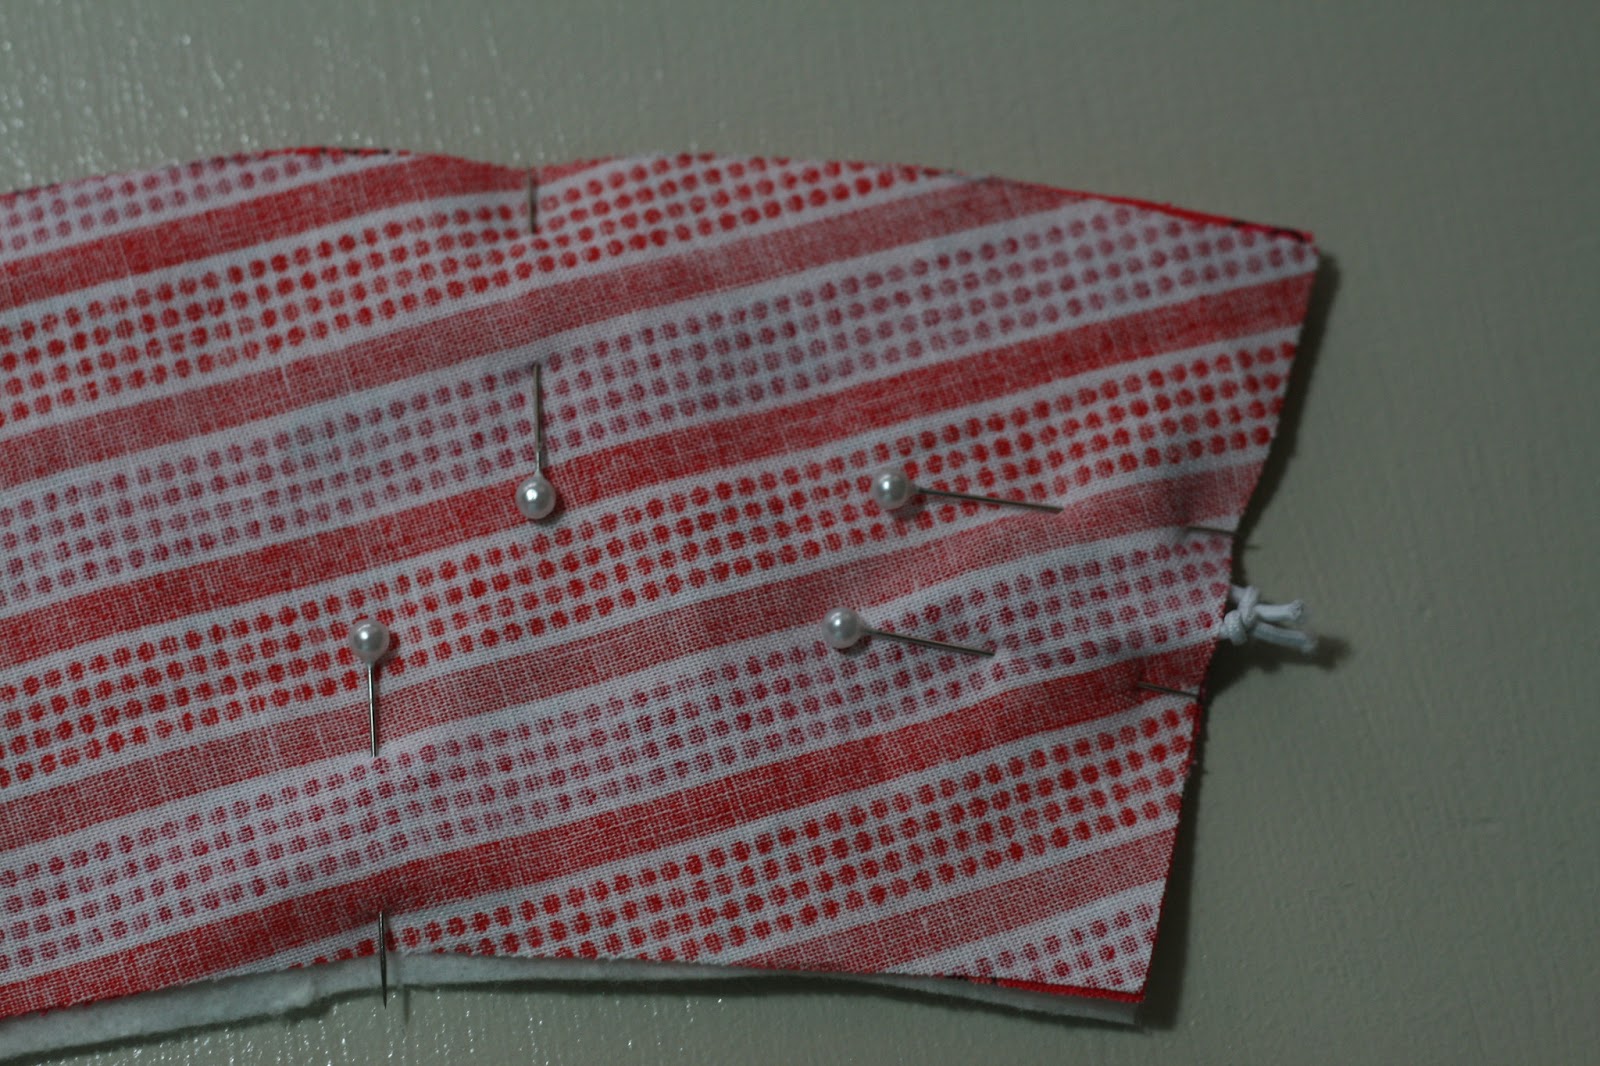
I put the three layers on top of each other in this order: fabric pieces right sides facing with fabric that would be on the inside of the cosy on top, fabric that would go on the outside of the cosy in the middle, and wadding at the bottom. This way you would not see or feel the knots on the elastic under the top layer of the cosy.


Then I pinned all three layers, and placed elastic between two fabric layers:


I stitched around the cosy leaving an opening on the 'blind' side to turn the cosy inside out. I did it this way so I would not have to worry about trying to making corners look neat when I turn the cosy right side out.

I clipped the corners, trimmed excess fabric, 


and turned my cosy right side out. See how neat my corners looked? I was pretty happy. Then I turned the raw edges towards the inside of the cosy and pressed it.


Back to the machine to sew around the cosy.


Next, I marked where I wanted the button to go. I love buttons. Not only are they functional, they can add character to an item.


What was left to do? Just to sew on the button. Done. I swear it took me longer to pick fabrics for the cosy than to actually make it.


Please let me know if you make a cosy or two using my hints. I would love to hear from you and have a look at the pictures (if you take pictures of your creations). I would appreciate a link back to this tutorial should you choose to use it.