Some things are so much fun to make! I made a takeaway cup holder/cosy/sleeve/call-it-anything-you-like thingo for my Covert Robin partner. You can read about it here. I had so much fun making it that I made one for each girl in my office. These little cup cosies make a great present.
There are a lot of tutorials for cup cosies on the Internet. I am not saying my way is the best, but it certainly worked for me.
First thing first. I needed a pattern. I went to a coffee shop near my work and asked if all takeaway cups were the same size and what size was the most popular. I don't drink coffee, so I don't know about such things. I told the ladies at the coffee shop what I was doing. They thought it was a great idea and gave me a cup.
To make a pattern, I rolled the cup on paper and outlined the top and the bottom as I went along, just like in this photo. By the way, no intentional product placement here! Once you have done this, trim as little or as much as you like - it all depends on how wide you want your cosy to be. I had to adjust my pattern a few times before I was happy with it.
Next, I cut out fabric pieces. I used quilting cotton for the outer layers and pre-washed bamboo wadding for the middle layer.
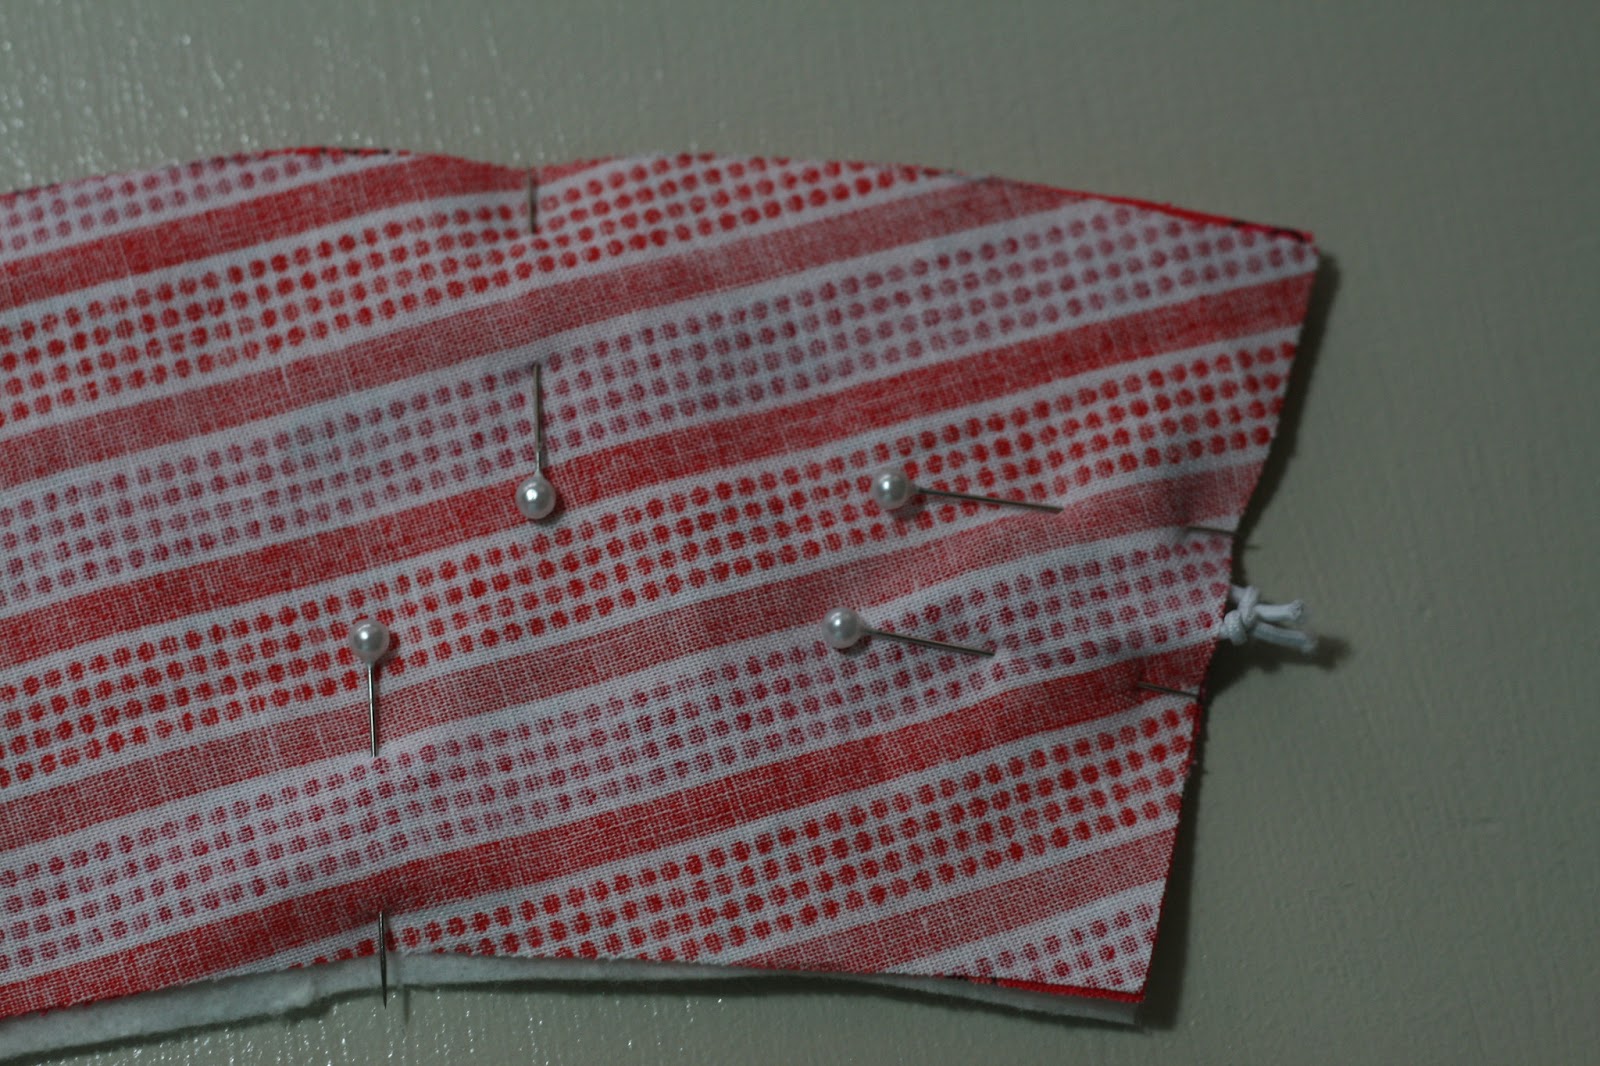
I cut a bit of elastic and tied nots on both ends since I was a bit paranoid it might slip out. C'mon, we all have some irrational fears :)
I put the three layers on top of each other in this order: fabric pieces right sides facing with fabric that would be on the inside of the cosy on top, fabric that would go on the outside of the cosy in the middle, and wadding at the bottom. This way you would not see or feel the knots on the elastic under the top layer of the cosy.
Then I pinned all three layers, and placed elastic between two fabric layers:
I stitched around the cosy leaving an opening on the 'blind' side to turn the cosy inside out. I did it this way so I would not have to worry about trying to making corners look neat when I turn the cosy right side out.
I clipped the corners, trimmed excess fabric,
and turned my cosy right side out. See how neat my corners looked? I was pretty happy. Then I turned the raw edges towards the inside of the cosy and pressed it.
Back to the machine to sew around the cosy.
Next, I marked where I wanted the button to go. I love buttons. Not only are they functional, they can add character to an item.
What was left to do? Just to sew on the button. Done. I swear it took me longer to pick fabrics for the cosy than to actually make it.
Please let me know if you make a cosy or two using my hints. I would love to hear from you and have a look at the pictures (if you take pictures of your creations). I would appreciate a link back to this tutorial should you choose to use it.
Subscribe to:
Post Comments (Atom)


Very smart idea to trace from the cup - that works so much better than other ideas I've seen and it was faster too. I've done it by tracing the cardboard cup-holder thingys from the coffee shop but, since they don't really fit the cups properly, they aren't very accurate. I wouldn't worry about giving them a freebie with the product placement. They gave you a free cup after you told them you weren't a customer - sounds like a fair trade to me ;-D
ReplyDeleteAn easier way to do the elastic is to sew a whole ponytail elastic in as you are closing the turning hole. That way you don't have to juggle it with all the layers since they are already sewn in place plus you don't have the knot in the elastic to worry about.
I'm going to check out the rest of your site now - thanks.
Thanks you for your kind words Lin. I got a muffin instead of coffee - they make yummy muffins ;) Still, that was a fair trade hehe Yeah the idea of sewing a ponytail elastic is a great idea, I just didn't have any small ones at the time. So I had to think of something else;)
Delete